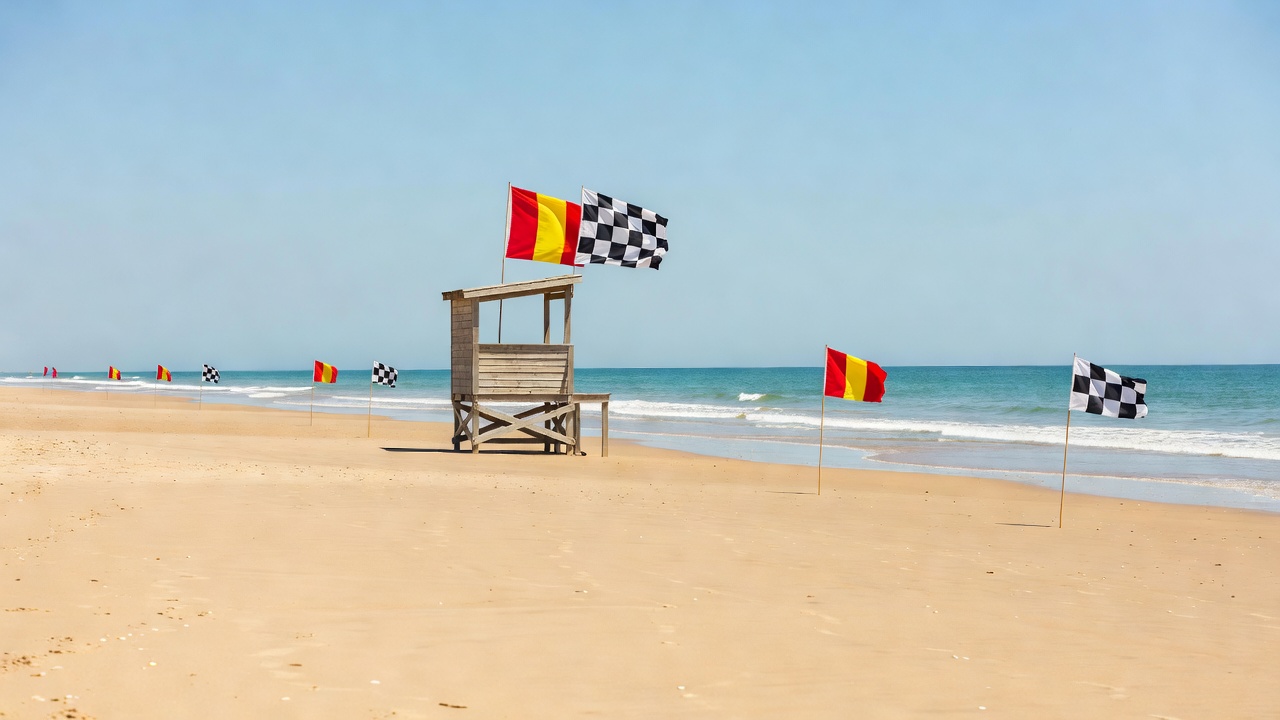
What a rip current actually is
When waves break, they push water toward the beach. That water has to get back out to sea, and it often does so through a narrow channel. That channel is a rip current. It does not pull you under; it carries you away from shore, sometimes faster than an Olympic swimmer can swim. The United States Lifesaving Association estimates that rip currents are involved in the large majority of surf rescues on American beaches each year, and lifeguard groups in the UK and Australia report similar patterns.
The reassuring part: rips are usually visible if you know what you are looking for, and they are survivable if you stay calm.
Five signs to look for
- A gap in the breaking waves. A section where waves are not breaking, between areas where they are, can be a deeper channel with water flowing out.
- Darker water. Deeper water looks darker than the sandbanks either side.
- Choppy, rippled surface. The outflow can make the surface look textured or messy compared with the water around it.
- Foam or seaweed moving seaward. Watch bubbles and debris. If they travel out past the waves, so would you.
- Sandy or discoloured plume. Churned-up sand can stain the water beyond the break.
Watch from somewhere slightly raised, such as a dune, sea wall or cliff path. It is much easier to see patterns from above. Better still, ask the lifeguards. Pointing at the water and asking "where's safe for a beginner today?" is exactly what they are there for.
If you are caught
Agencies such as NOAA in the United States, Surf Life Saving Australia and the RNLI in the UK share the same core advice. NOAA and the USLA run the "Break the Grip of the Rip" campaign; the RNLI teaches "Float to Live". For surfers it comes down to this:
- Stay on your board. It is a large flotation device.
- Do not paddle straight back against the current. You will tire quickly.
- Paddle parallel to the beach until you are out of the pull, then come in on the whitewater.
- If you are tired, sit or lie on the board, float, and raise one arm and shout to signal for help.
If you see someone else in trouble, alert a lifeguard or call emergency services: 999 or 112 in the UK (ask for the Coastguard), 911 in the US and Canada, 000 in Australia. Do not paddle out to help unless you are trained.
Tides change everything
The same beach can be gentle at mid-tide and dangerous at low tide when waves dump onto shallow sandbanks, or at high tide when they crash against rocks or a sea wall. Look up a tide table for your beach. Spring tides, around full and new moon, bring bigger tidal ranges and stronger flows; neap tides are milder. Ask local surf schools which tide suits beginners at their beach.
Wind and weather
Offshore wind blows from land to sea and makes waves tidy, but it can also push you and your board gradually out. Strong onshore wind makes waves messy and tiring. For your first sessions, light wind is ideal. If a storm is forecast, or the lifeguards have put up a red flag, the decision is already made: stay on the sand.